Need Attic Insulation services
Call now | +1 (678) 649-0099
Introduction | Attic Insulation removal and replacement process
Proper attic insulation cost Avergae is one of the most effective ways to improve home comfort and energy efficiency. In this project, we’re using fiberglass rolled insulation (R30), which doesn’t have a paper or vapor barrier backing. The goal is to bring the attic’s insulation for attic up to recommended standards.
In many regions, the minimum attic insulation in an attic R-value is R30, while R45 is considered good and R60 excellent. If you’re unsure what’s right for your home, simply check insulation guidelines for your climate zone.
Credits | Attic insulation
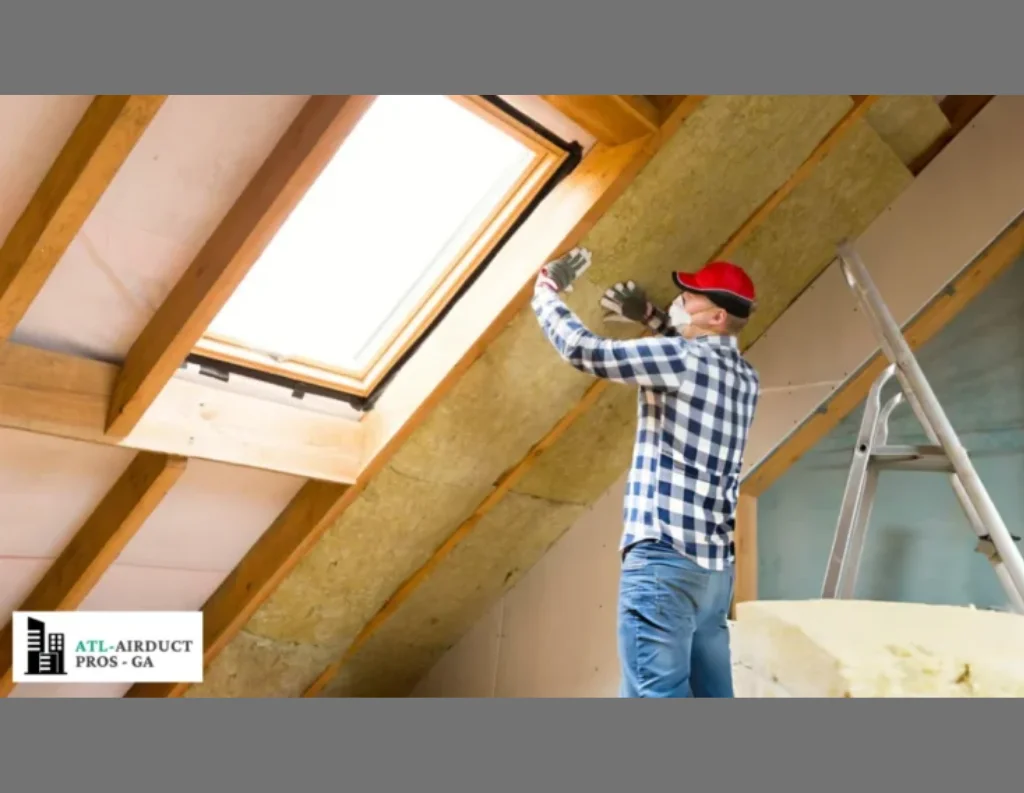
Preparing the Attic Before Insulation
Before adding new insulation, it’s important to prepare the attic properly. Start by inspecting the space for safety and efficiency issues:
Electrical wiring: In older homes, wiring may be exposed, brittle, or poorly installed. Secure loose boxes, remove unused wires, and ensure all electrical connections are safe. This is crucial for best insulation for attic projects.
Air sealing: Use attic door insulation around cam lights, joints, and wall gaps to stop air leakage from the living space below.
Framing and structure: Check for roof sagging or missing supports. Repair these issues before attic insulation companies install insulation.
Leveling existing insulation: Spread out loose insulation evenly so the new layer goes on smoothly. Proper attic insulation contractors work ensures uniform coverage.
Handling these tasks beforehand prevents extra hassle later, since moving insulation around after installation is much more difficult. This step is essential when considering insulation attic upgrades.
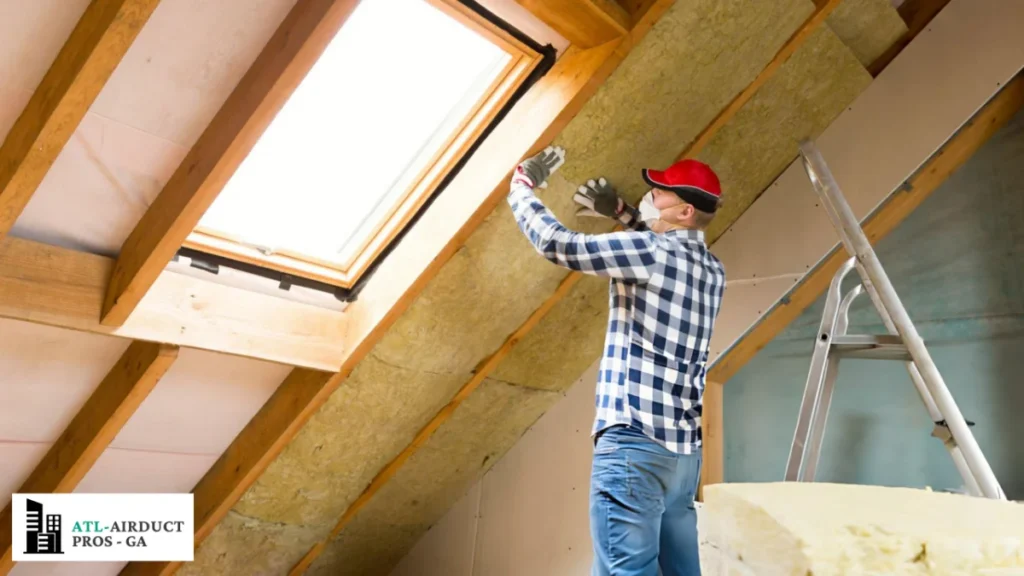
Photo Credit | Airduct Cleaning ATL LLC
Installing the Insulation
When laying new spray foam attic insulation, avoid compressing existing material. A simple method is to run new batts perpendicular to ceiling joists, allowing the joists to carry the weight and preventing sagging.
Remember, insulation’s effectiveness comes from trapped air pockets. The fluffier and less compressed it is, the higher its attic insulation installation performance. Squished insulation provides little benefit.
Tools and Safety Equipment
Attic insulation price doesn’t require many tools, but preparation and protection are essential:
Tools: A razor knife for cutting insulation and a good work light if your attic lacks lighting.
Safety gear: A respirator or high-quality mask to avoid inhaling fiberglass attic insulation dust, gloves, long sleeves, and long pants to prevent skin irritation.
Comfort tip: If possible, schedule installation during cooler weather, since attics can heat up quickly in summer. This is important for insulating an attic safely.
Applying Insulation Correctly
When layering insulation, always use material without a vapor barrier. Backed insulation can trap moisture between layers, leading to mold, rot, and long-term damage. Choose unfaced fiberglass rolls for safety and efficiency. This method is often recommended by attic insulation companiesThough the process can be physically demanding, it’s straightforward. Within a few hours, most attics can be fully insulated to achieve the right attic insulation r value.
Avoiding Ventilation Blockages
Handling Obstacles
Attics often have framing supports or obstacles. Instead of cutting out sections, simply slit the insulation and wrap it around beams. This saves material and ensures full coverage.
Also:
For long narrow strips, cut the insulation while it’s still tightly rolled—it makes the process faster and cleaner.
Final Results
Adding attic insulation is one of the most impactful upgrades for home comfort and energy efficiency. With proper preparation, safety measures, and correct installation techniques, you can significantly reduce heat loss, lower energy bills, and extend the life of your home.
Whether you’re tackling the project yourself or considering professional help, always focus on safety, air sealing, and ventilation for the best long-term results.
Critical Mistakes to Avoid When Insulating Your Attic Space
today I’m going to discuss with you what I feel you need to know before insulating your attic.
Insulating your attic will improve air quality. It will improve efficiency and also make your house more comfortable. So you wanna make sure you do it right. Stay tuned.
Okay, first of all this is staggering. Did you know that the Department of Energy says that a properly insulated attic could improve or save you between ten to fifty percent of your heating bills every year? Is that not nuts?
That means that most people have a very, very uninsulated attic. And we’ve seen this time and time again. We’ll go into an attic and there’ll be that much insulation, and you know they’re walking around in hoodies and all that kind of stuff.
So what we wanna do is we wanna give you some tips that you should think about before even insulating the attic and also explain to you some of the different methodologies in insulating your attic.
Step 1: Air Sealing Before Adding Insulation
Number one, make sure that if you’re going to go through all the expense of insulating your attic, air seal all the major penetrations in the attic floor. This is all of the heating and air duct penetrations, all of the exhaust vent fan penetrations.
If you’ve got a water heater, then it’s got, you know, the piping going up through the attic. You’re gonna need to get some fireproof caulk, and build a dam around that to make sure that the insulation doesn’t burn.
You wanna make sure all that is done properly. You wanna make sure that you’re air sealing all of those chases and your attic hatches.
And if you’ve got one of those big monster fans that’s in your hallway that they’ve installed back in the seventies and eighties to ventilate the house, I recommend you just yank that dude out and seal all that guy up and air seal it properly and redo that drywall. And that should take care of most of the air loss from your living space up into your attic.
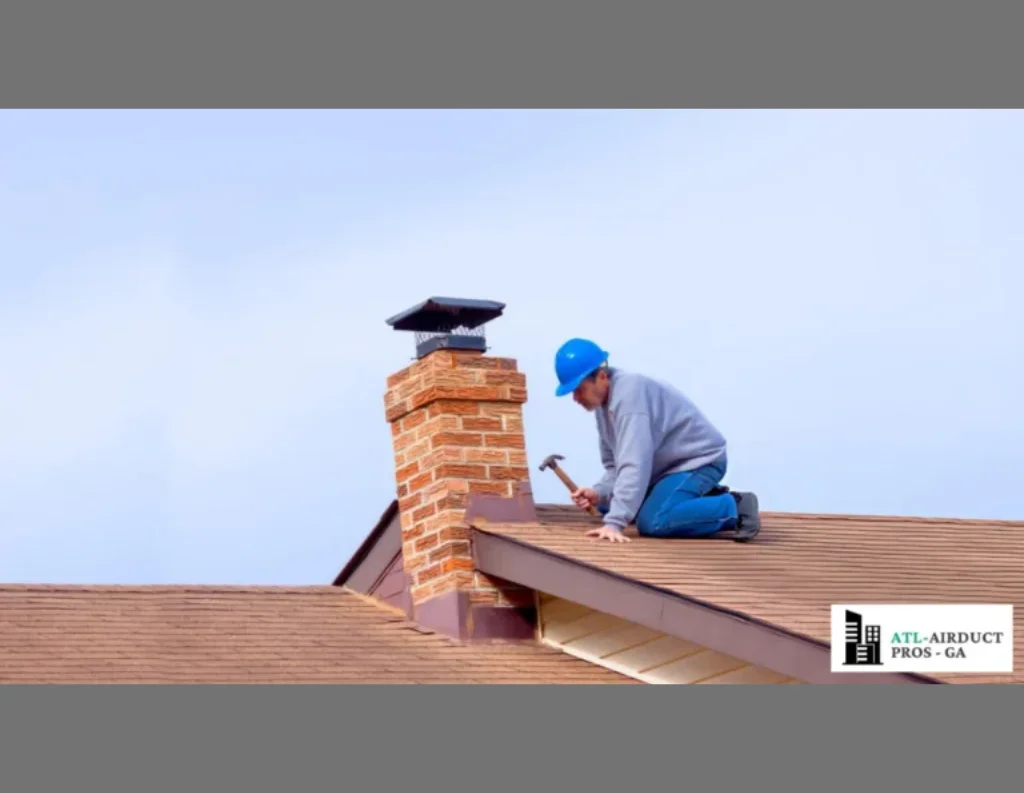
Step 2: Fix Roof Leaks Before Insulation Work
Okay, so this should go without saying but obviously you want to make sure that you take care of all roof leaks. Now believe it or not not everybody thinks about that.
If you get up there and you see matted insulation or insulation that may look like it might have debris or different things like that, you could be getting water from the roof leaking or from your gable vent.
Whenever we did our attic we had two gables. Obviously it was a shotgun style attic, so you had two gables. Well one side, one gable, was taking on all this blowing rain.
So when we got up there to suck out all that old insulation so that we could air seal the floor of the attic, we discovered there was mold all over the drywall. It was a great place for snakes to get in and different things like that.
So you wanna make sure you air seal those gables if you find out that they’re letting water come in because you don’t wanna blow in insulation or put batting down only for that insulation to get wet and ruined in the future.
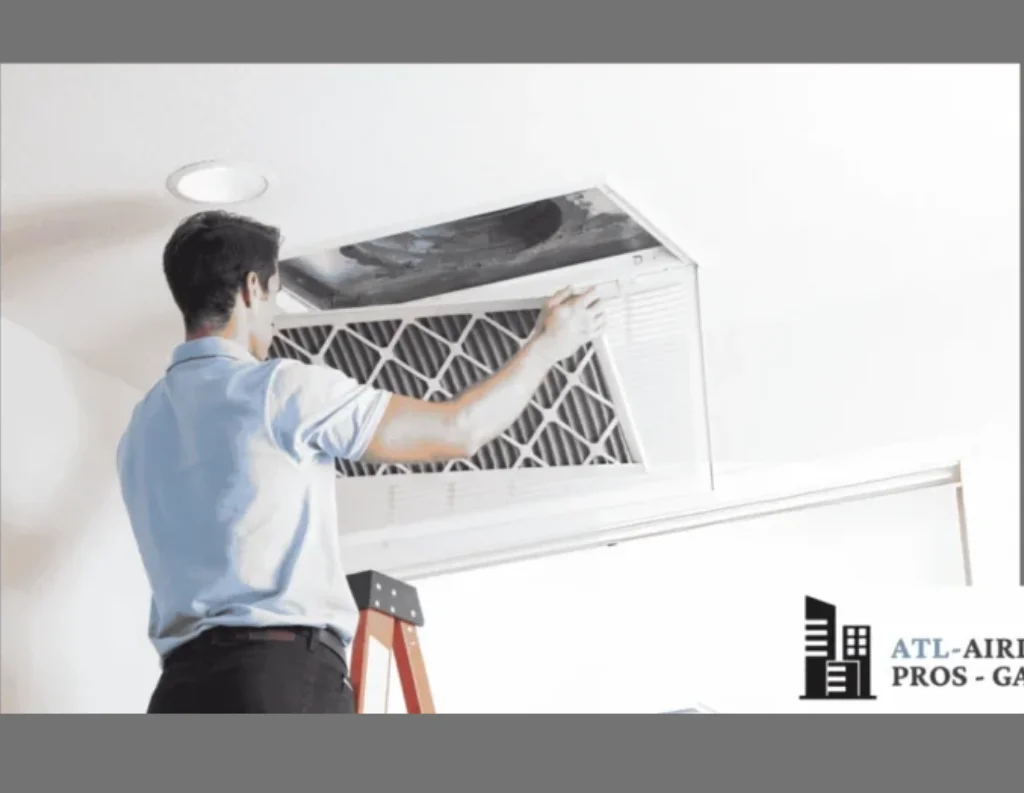
Step 3: Ensure Proper Attic Ventilation
Another big mistake that we see people not doing—matter of fact, we’ve had quite a few people call us that they had developed a mold problem after they hired a contractor to blow in insulation—because they didn’t make sure the attic was properly ventilated.
So there’s two types of ventilation. There’s active and passive.
That way during the convection process when the attic gets really hot, it starts to move air from the soffit up through the ridge vent. The only problem is they didn’t put baffles in to make sure that those soffits didn’t get clogged.
So if you’re gonna pay somebody to put batting insulation in your attic or blow in insulation, if they don’t have those soffit vents open for airflow it could create a mold problem. So make sure you invest in that as well.
Step 4: Avoid Using the Attic as Improper Storage Space
Another big mistake we see people doing is that they will have all this plywood down so that they can store their Christmas trees and old photos and things up in their attic.
Well guess what—if you’ve got plywood directly on a piece of two by four, you’ve only got about three inches of insulation if they even insulated underneath the plywood at all.
So get all that plywood out of there and stop using your attic for storage. If you’re concerned about comfort and energy loss and all that kind of thing, try to find another place to put those items.
And I know that’s a big expense, but anyway that could hinder the amount of insulation you’re able to install because of all of the plywood that you’ve got for storage.
Step 5: Choosing the Right Type of Attic Insulation
So we’ve got two different types of insulation. We’ve got bat insulation, which is the roll out insulation, and then we’ve also got loose fill insulation.
Most of the time, contractors will install loose fill insulation. It tends to do better in lower attics where you have more obstacles to work around, because you can just blow it around that stuff.
Now the bat installation tends to be more of a DIY project because it’s easier to utilize and manage and you don’t have to rent a machine. You can just buy the batting insulation and throw it up.
Step 6: Loose Fill Insulation Options We Recommend
I wanna talk about three different types of loose fill.
So typically most people in our area are going to use either loose fill fiberglass or cellulose. And as I mentioned before, fiberglass is our number one choice.
Step 7: Bat Insulation Options
Now if you’re going to use a bat style insulation, you’ve got four choices: fiberglass, cellulose, rock wool, and cotton fiber insulation.
If you’re going to tackle this project on your own little bit at a time, then you may decide that using a bat insulation is easier for you to work with and you don’t have to rent a machine—especially if you’re just doing this a little bit at a time.
Most of the time, getting those machines for a few hours can be costly even though it tends to go faster. But remember—don’t do any of that insulation until you’ve air sealed the floor of the attic.
Step 8: Climate and R-Value Considerations
You don’t want to take all that time and blow in R38 or R40 of insulation and then have to suck it all out because you realized that you made a mistake.
So make sure that you’re air sealing first. The other thing you want to do is if you’re in a really cold climate you need to have at least an R49.
Warm climates (like Florida): not as thick, but air sealing remains critical.
Step 9: Removing Bad or Damaged Insulation
As I mentioned before, you may wanna get rid of bad insulation if you’ve had rain come in through the gables or you’ve had some kind of roof leak. Make sure you get yourself an insulation vacuum and suck out all of that bad stuff.
The bad thing about wet insulation is number one, it’s not really that effective. Number two, it’s kinda hard to get out. It’s really tough, it can cake up.
Especially cellulose—can you imagine wet paper? How difficult is that to get out of an attic? So if you’re going to take the time, don’t just blow good insulation on top of bad insulation.
Make sure you invest and get all of that bad insulation out and then air seal the attic.
Step 10: Take Advantage of Energy Credits and Rebates
And lastly, if you live in a part of the country that offers energy credits either through your local municipality or your power company, you may be able to get a bonus or rebate on that insulation.
TBA used to do stuff like that, they don’t really do it anymore. But if you’re in some of those high energy states like California, Washington, Oregon, or up in New England, they may have energy credits that can help you.
Why Professional Attic Insulation Installation, Removal and Replacement Outperforms DIY
Installing, removing, or replacing attic insulation might seem like a straightforward DIY task, but the reality is far more complex. Professional attic insulation services ensure that your home receives maximum energy efficiency, proper coverage, and safety that DIY methods often miss. Experts have the knowledge and experience to evaluate your attic’s unique needs, choose the right type of insulation, and install it according to industry standards.
Accuracy and Efficiency
Professional contractors can precisely measure your attic space, calculate the correct R-value, and install insulation without compressing it, which is crucial for maintaining its effectiveness. DIY attempts often result in uneven layers, gaps, or improperly installed insulation, reducing energy efficiency and increasing heating or cooling costs.
Safety First
Attic work involves potential hazards, including electrical wiring, sharp tools, and exposure to insulation materials. Professionals are trained to handle these risks safely, using the proper protective gear and techniques. Handling insulation incorrectly can lead to respiratory issues, skin irritation, or structural damage.
Long-Term Savings
While DIY might seem cheaper initially, professional installation, removal, or replacement ensures long-lasting performance. Correctly installed insulation minimizes energy loss, reduces utility bills, and prevents damage caused by moisture, mold, or pests. Over time, professional work often pays for itself through increased home comfort and efficiency.
Access to Advanced Materials
Experts have access to a variety of insulation types, including fiberglass, spray foam, cellulose, and specialized high-R-value materials. They can recommend the best insulation for attic conditions in your home, ensuring optimal thermal performance and durability.
Comprehensive Service
Professional attic insulation services cover every step, from inspection and preparation to installation, removal, or replacement. They also handle ventilation, sealing gaps, and addressing any structural concerns, providing a complete solution that DIY projects rarely achieve.
In short, hiring professional attic insulation contractors guarantees superior results, improved safety, and long-term energy savings compared to DIY attempts.
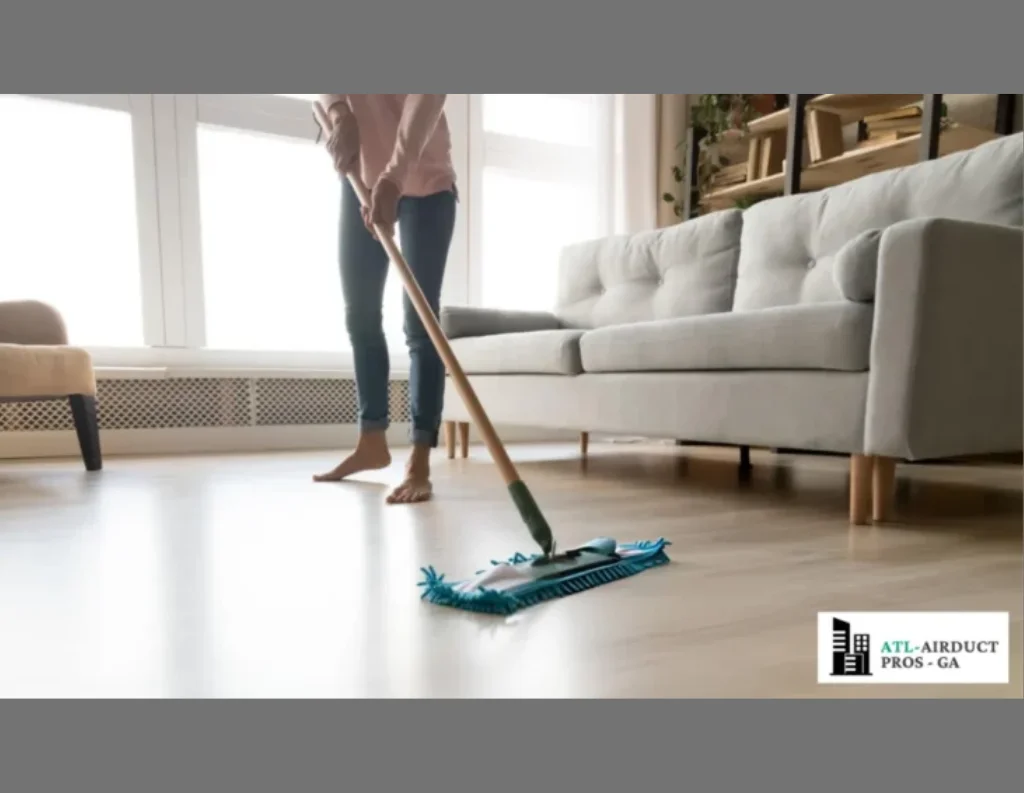
Before and After Hardwood Floor Cleaning in Atlanta, GA
There’s nothing more satisfying than experiencing the transformation your home undergoes after professional attic insulation. Over time, poor insulation, air leaks, and fluctuating temperatures can make your home uncomfortable while driving up energy bills.
With professional attic insulation in Atlanta, GA, your home can be brought back to peak efficiency — maintaining consistent indoor temperatures, lowering energy costs, and improving overall comfort. The difference between a drafty, inefficient home and one with proper attic insulation is truly night and day.
We’re Ready To Deliver Safer, Warmer & More Energy-Efficient Homes – Attic Insulation Done Right for Maximum Comfort.
Services we offer
What people are saying
Amazing experience our carpets have not looked this clean in years and now our home feels fresh and inviting
Friendly professional and efficient definitely the best choice for carpet cleaning in Atlanta

Harry Bryn
Buckhead Atlanta GA
Extremely professional and thorough our carpets are spotless and the rooms now feel completely refreshed
Top notch service fast dependable and highly recommended for anyone in Atlanta looking for expert carpet cleaning

Sarah Larry
Decatur Atlanta GA
Outstanding service the carpets are perfectly cleaned and we feel much better enjoying our home now
Prompt professional and reliable highly recommend this team for anyone in Atlanta needing expert carpet cleaning

James tyson
Midtown Atlanta GA