
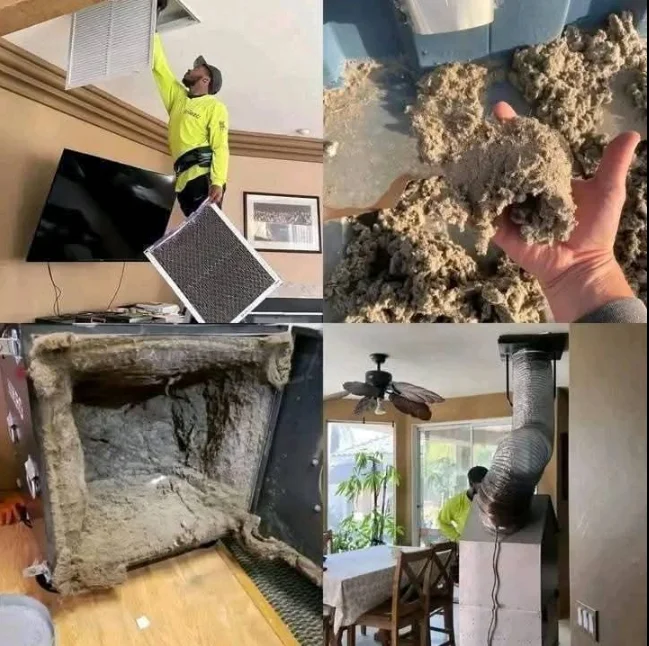
Hey everyone, thanks for taking the time to learn about what we do. In this walk-through, we are going to show you our cleaning process for a residential duct cleaning, exactly how our two-technician team handles your home and HVAC system with care from start to finish. We appreciate you being here and letting us explain our approach in detail.
Protecting your home before we start
At this stage of the process we are just putting down drop cloths, painters plastic, and other types of protection—whatever we can to protect your home while we do the work. Inside the home we keep one drop cloth centrally located so we can store all the HVAC grills in one place when we take them down. We also mark where each one goes and which direction the fins were pointing so we know how to put them back exactly the way we found them at the end of the day.
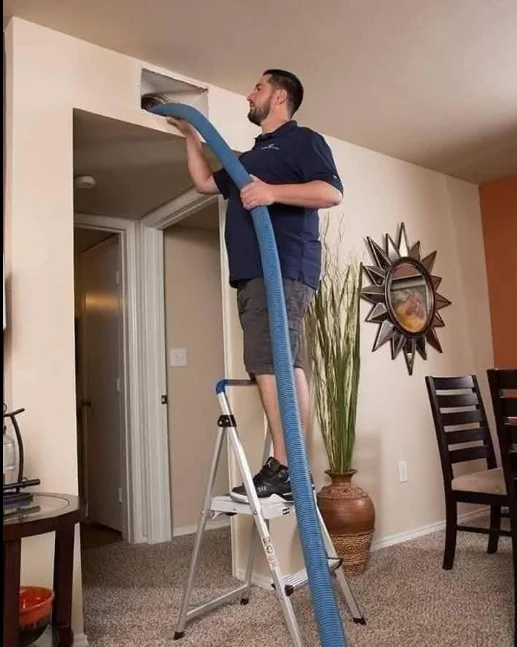
Two-technician setup and HVAC prep
Our two technician team will split up. One will go to the HVAC unit to work on the unit, remove the blower wheel, cut our access holes, and prep for the rest of the cleaning. The other stays inside the home protecting it and removing the HVAC grills. You might also see green tape around our access holes; that green tape is just so we don’t cut ourselves on the sheet metal while we work. Our duct cleaning process is very low-impact and very detailed each step of the way so that we don’t miss anything.
A clear note about paint around grilles
If your grills are painted on or if your house has been recently painted, it is very likely—and we do mean very likely—that we are going to do some damage to the paint around the grills during removal. If you are concerned about this, we suggest waiting to have your ducts cleaned until you are already planning a paint project, or have your painter available to touch up. We want to be very clear: it is very likely we will damage the paint, and it will be noticeable once the grills come down.
Negative air connection and zoning the system
Once the blower wheel is removed and we have access to the ductwork, we hook up our large vacuum, which we call the negative air. We use cardboard, plastic, or other materials to zone off the HVAC system from the ductwork so the vacuum is pulling from a smaller section at a time. This controlled zoning helps us be thorough and effective while keeping dust moving in the right direction and out through HEPA filtration.
Why we remove and mark the blower wheel and wires
When removing the blower wheel, we have to be perfect with each and every wire. We mark them exactly the same so that when we put it back in at the end of the day, nothing is wrong. The NADCA standard and the EPA both suggest that cleaning the HVAC unit and its components is a vital part of the process. We do this on every job. Many competitors skip this because they don’t have capable enough employees they trust to do the work, but our team is trained for this and we do it every day.
Grille washing and photo documentation
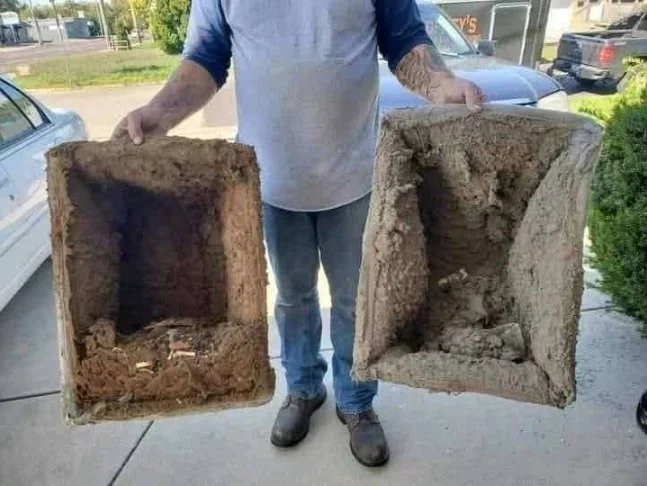
After all the grills are removed, we take them outside to the washing station. We take before pictures, we wash them thoroughly, and then we take after pictures so you can see the difference. This documentation matters to us because it shows exactly what we did for you and where we made improvements.
How your HVAC system moves air
You can think of your HVAC in three parts. The return ductwork pulls the air out of the home and down into the filter to be cleaned. Then the air goes into the unit to be heated or cooled. Once that is done, it goes back into the supply ductwork and is pushed back into the house. That cycle keeps repeating over and over while the system runs.
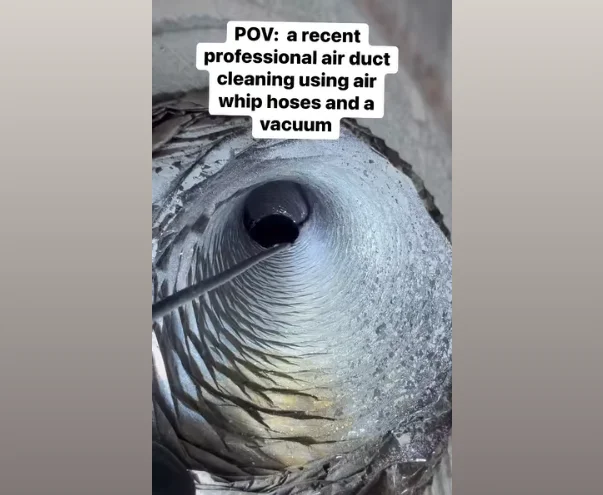
Cleaning the branch duct lines
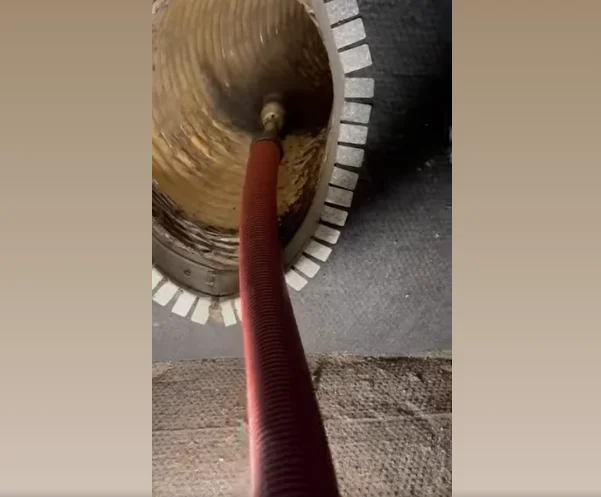
Once we are complete with the unit and the grills, we finally move into the duct cleaning itself. We start by taking our before pictures of the branched ductwork. We air wash the ductwork; if needed, we use our cable-driven brushes to scrub the ductwork even more, and then we air wash again to push all particles down the ductwork to the main negative air vacuum. The goal is to move debris in one direction toward HEPA filtration without spreading dust back into the home.
Cleaning the trunk lines and the disassembled unit
Just like with cleaning the branch lines, we repeat the process for the trunk lines. With the negative air hooked up to the supply trunk and the unit completely disassembled, we can get in there to clean deeply. We take the blower wheel outside and power wash it. We then begin cleaning the supply trunk lines from where we are and push all the dirt and dust back to the negative air so it can pull everything through the HEPA filters.
Lined ductwork and encapsulation after cleaning
If the ductwork is lined, we have a separate encapsulation process. Lined ductwork means the outside of the duct is bare metal but the interior has fiberglass insulation exposed to the airflow. Cleaning lined ductwork can cause fiber shedding, which is when particles from the insulation can flow out into the home. To prevent this, after we clean the ductwork we use a coating product called fiberlock ieq 8000, which is made specifically for coating insulation in HVAC systems. We apply it with a paint sprayer and let it dry before turning the system back on.
Reassembly, filter changes, and avoiding cross-contamination
Once the cleaning and coating process is complete, we put everything back the way we found it. To avoid cross-contamination from one home to the next, we change the filters on our two most important pieces of equipment at the end of the job before heading to another customer. Our smaller HEPA vacuum has five filters in it, and our large negative air has three. We change those filters post-job so that what we captured at your house stays there and doesn’t travel.
Final checks at the unit and with your grills
This is where our team splits up into two again. One technician goes to the HVAC unit to clean the coils, the plenum, and wipe out the HVAC cabinet. The other finishes reinstalling the grills. We double check to make sure no fingerprints are left behind on the grills and that they are seated properly. We also double check that the unit is working properly and supplying air. Then we load the truck and head out.
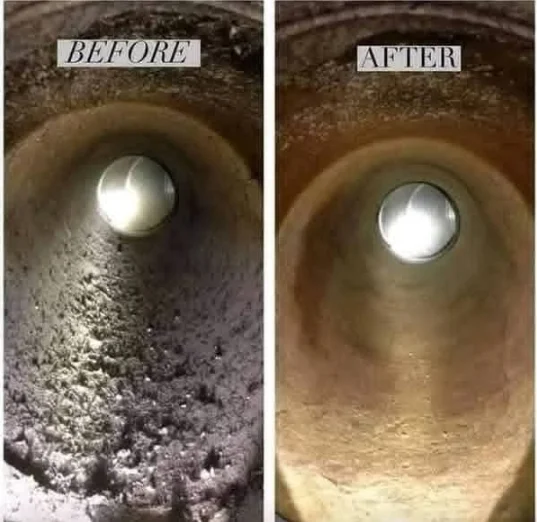
Before After of Project
A quick note about dryer vent cleaning
Dryer vent cleaning is most cost-effective to do while we are already at your home for duct cleaning. We can also come out just for the dryer vent, or we can pair it with the Air duct cleaning—it is up to you and your schedule.
After we leave: documentation and scheduling timeframes
Once we arrive back at our shop, we take your before and after pictures and build you a PowerPoint so you can see everything we did and what we accomplished that day. Duct cleaning is a process that takes time. Most houses take anywhere from five to eight hours, and some even take multiple days. It is not something where you call us today and we can always do it tomorrow. Most jobs are scheduled a month or more in advance. If you would like to learn more or see more about what we do, please visit our website, check out our social pages, or call or text us using the number on our site. Thanks a lot and take care.
How long does residential duct cleaning take and how far ahead should I book?
Most homes take five to eight hours, and some take multiple days depending on system complexity, the number of registers, and whether the ductwork is lined and needs encapsulation. Because the work is detailed and labor intensive, we usually book out a month or more in advance, so it is smart to plan ahead if you are targeting a specific time window
Will duct cleaning damage the paint around my vents?
If your grills are painted on or your home has been recently painted, it is very likely we will do some damage to the paint when we remove the grills. It is best to schedule duct cleaning before a paint project or have a painter available for touch-ups. We want you to be prepared for that reality because the edges can be noticeable once the grills come down.
Do you clean the HVAC unit components or just the ducts?
We clean the HVAC unit and its components as part of every job, including removing and cleaning the blower wheel, cleaning coils and the plenum, and wiping out the cabinet. The NADCA standard and the EPA both suggest cleaning the HVAC unit and components as a vital part of the process, and we follow that guidance on every project.
What is “negative air” and why do you use it?
Negative air refers to a powerful vacuum we hook to the duct system to pull contaminants in one direction and out through HEPA filtration while we agitate debris with air washing and brushes. We zone off sections with cardboard or plastic so the vacuum pulls from smaller areas, which increases effectiveness and helps keep your home clean during the work.
How do you keep my home protected and clean during the job?
We start with drop cloths, painters plastic, and a centrally located staging area for all grills so we are not carrying them all over the home. We mark locations and fin directions for correct reinstallation, use green tape to cover sharp sheet metal edges near access holes, move debris toward the negative air vacuum, and change our equipment filters after the job to avoid cross-contamination.
What if my ductwork is lined with internal insulation?
Lined ductwork can shed fibers when cleaned. After we clean, we apply a coating product called fiberlock ieq 8000 to encapsulate the insulation. We spray it on, let it dry fully, and only then bring the system back online to prevent fiber shedding into your living spaces.